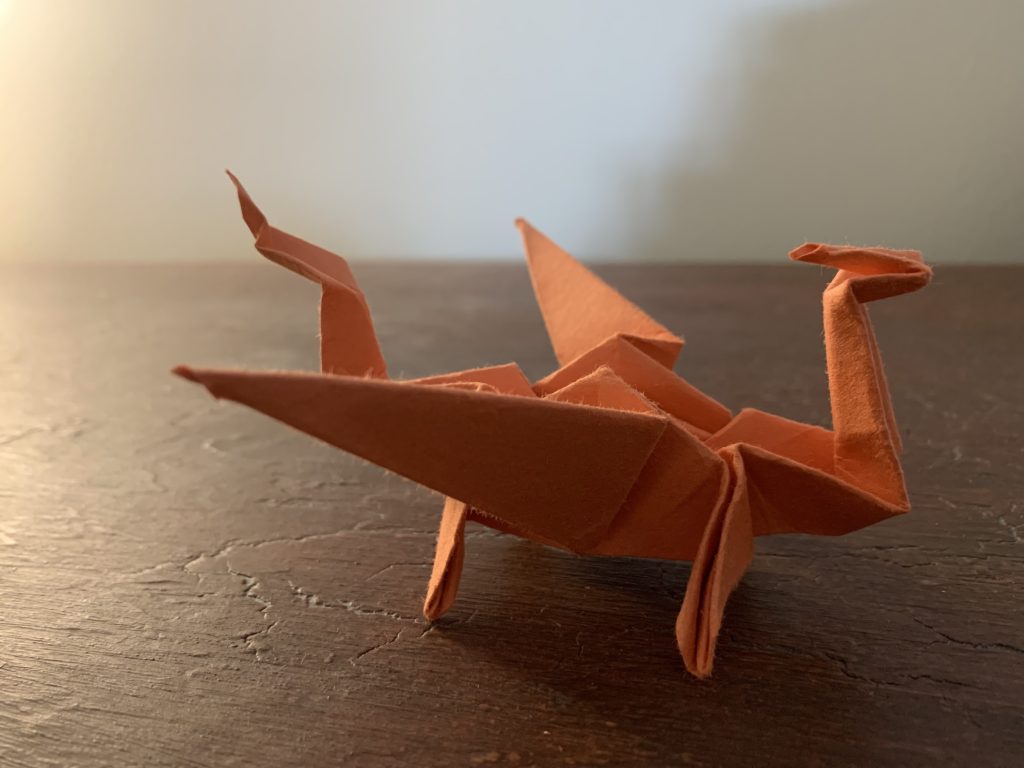
“Home”Made: The Origami Dragon
Paul Camillo is a 7th grade student at Our Lady of Perpetual Help in Germantown, TN. At OLPH, he is known as an origami master, having instructed his peers in the creases and folds required to create flowers, swans, and dragons made of paper. Paul is a student of Mrs. Laurie Cotros, and when he forwarded her a gallery of pictures of his creations, she forwarded them to us.
In the spirit of Collierville, we asked Paul if he would instruct our readers on the many folds required to transform an ordinary piece of paper into a dragon. He was happy to oblige. If you would like to follow along in video format, Paul shared the original lesson with us (link: https://www.youtube.com/watch?v=8CmCKm20t5A). We recommend following this tutorial alongside the video, as some folds require techniques that are better observed than explained.
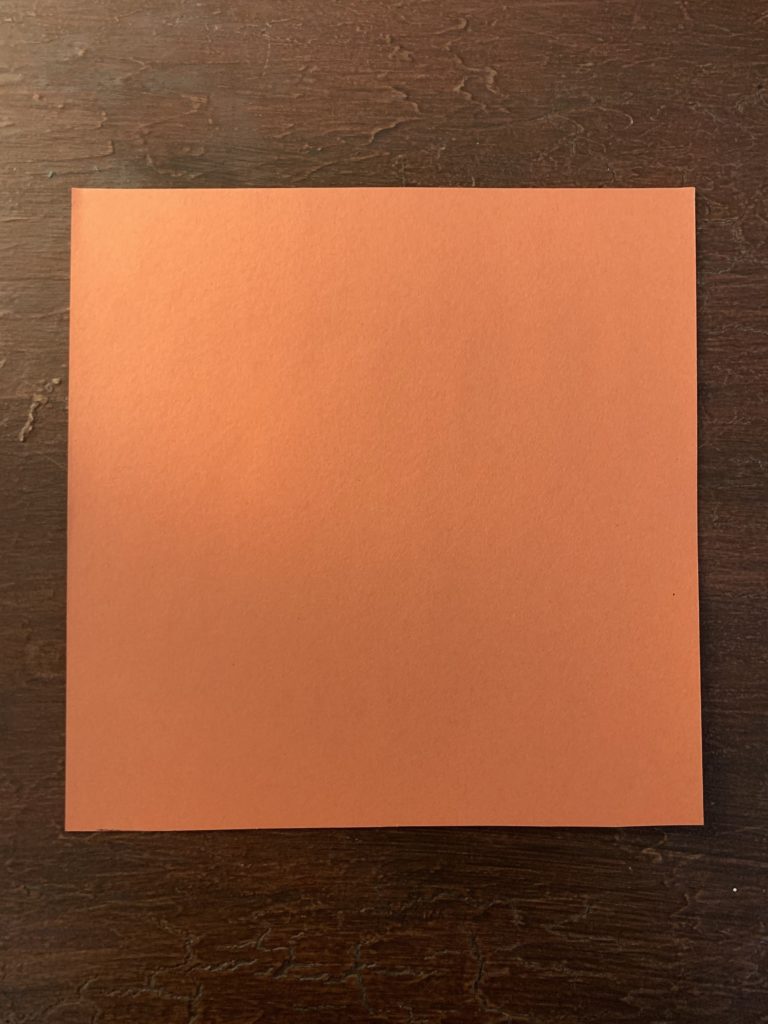
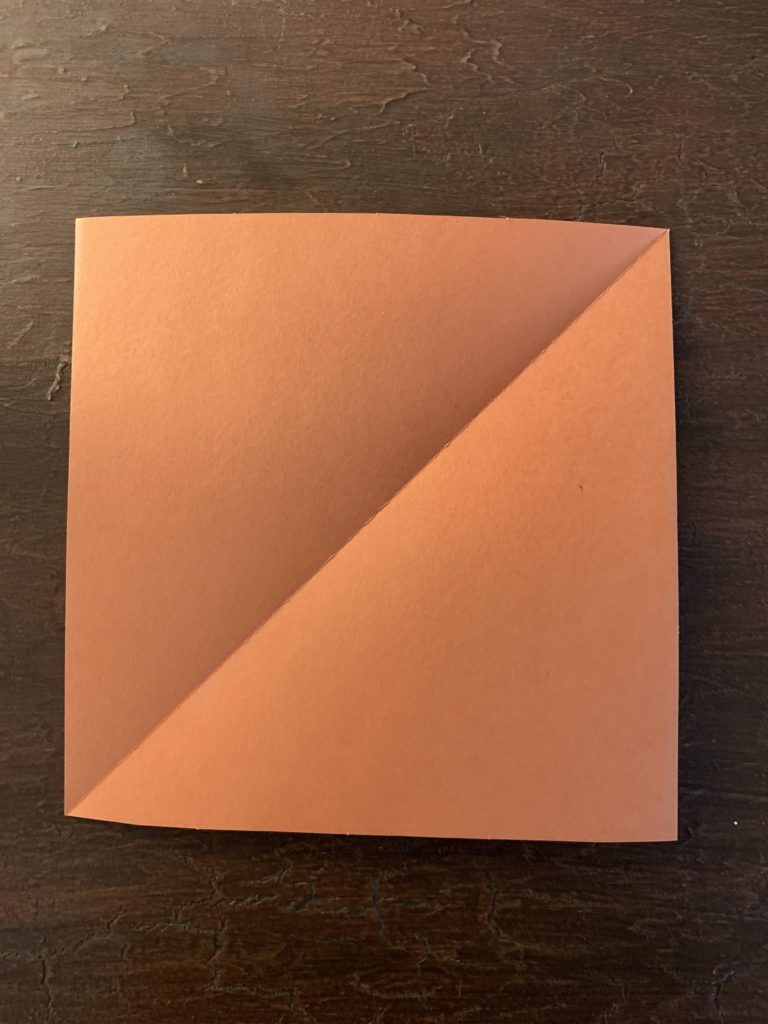
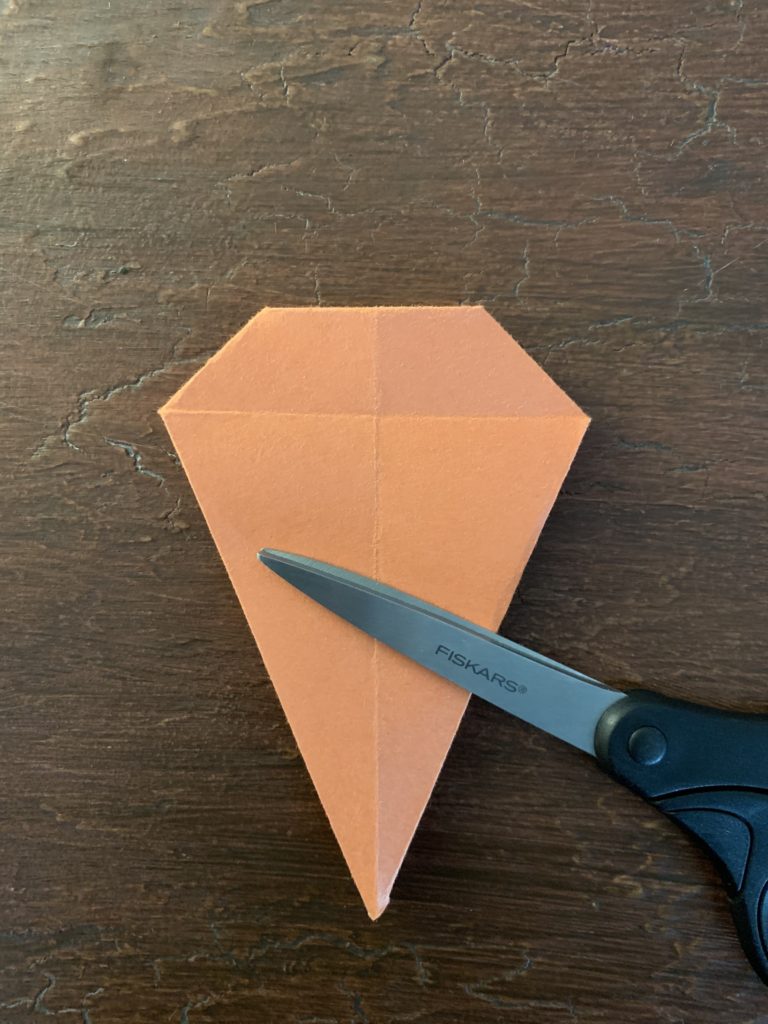
- To begin, you’ll need a square piece of paper. For this instruction, Paul used a 15×15 centimeter piece of paper, and I measured and followed along with a 9×9 inch sheet of paper. It doesn’t matter what type of paper you decide to build with, as long as you’re able to crease and fold it as you normally would. Place the piece of paper in front of you, so that it looks like a square.
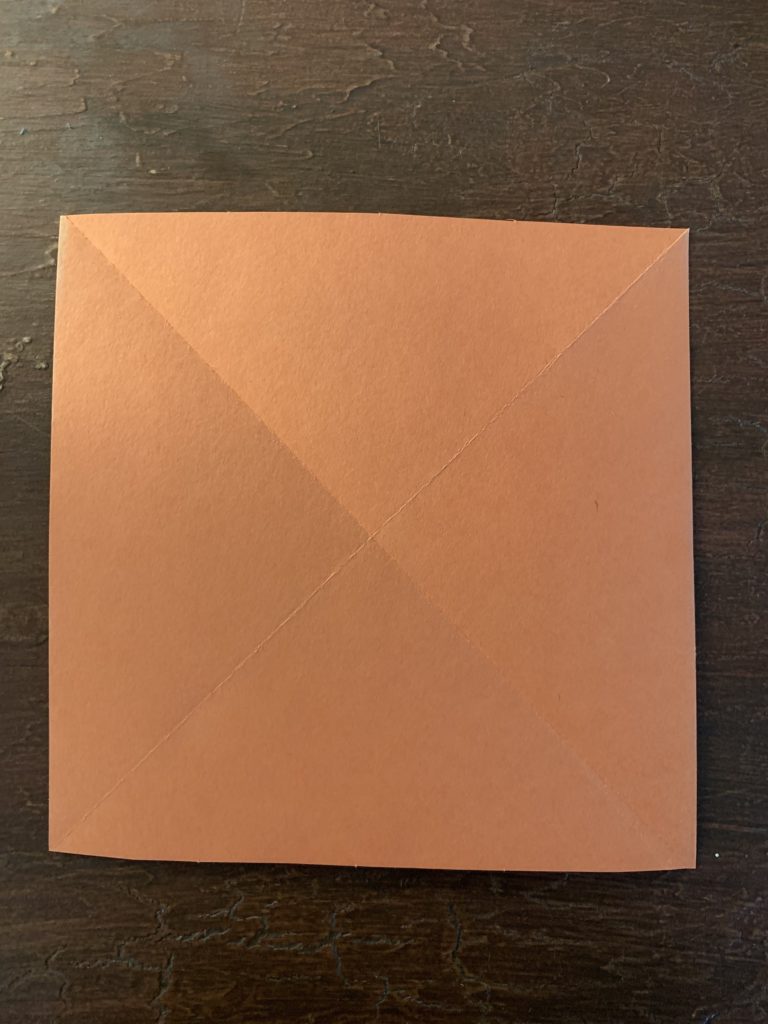
- We’re now going to make four “marking folds.” Paul explained that “marking folds” simply create creases that we will need later. Fold the piece of paper in half so that it looks like a triangle, and crease the fold. Paul explained that the best way to create folds is to use your fingernail to press down along the edge. Flip it and crease the fold on the other side. Repeat this step, and fold the other side twice, like before. Now, when you unfold the square, there should be a cross in the middle that touches each corner. Nice! We’re going to repeat these steps, but this time – we’re going to fold the paper vertically, and then horizontally so that it looks like a rectangle. Unfold the piece of paper, and you should have created 4 creases.
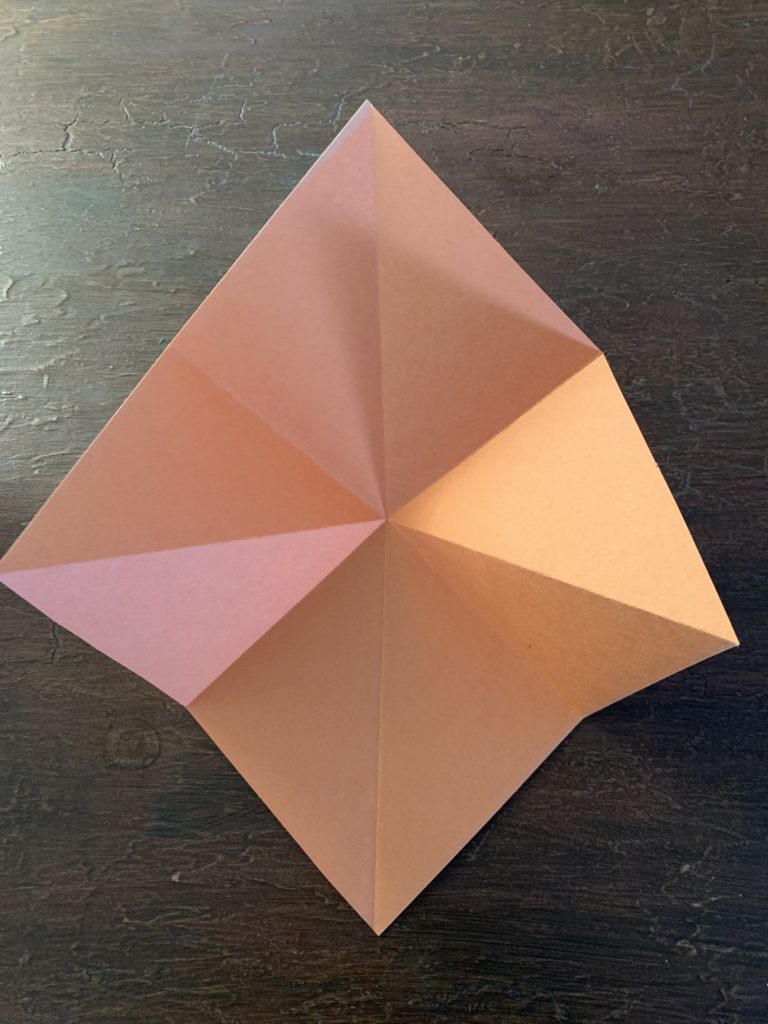
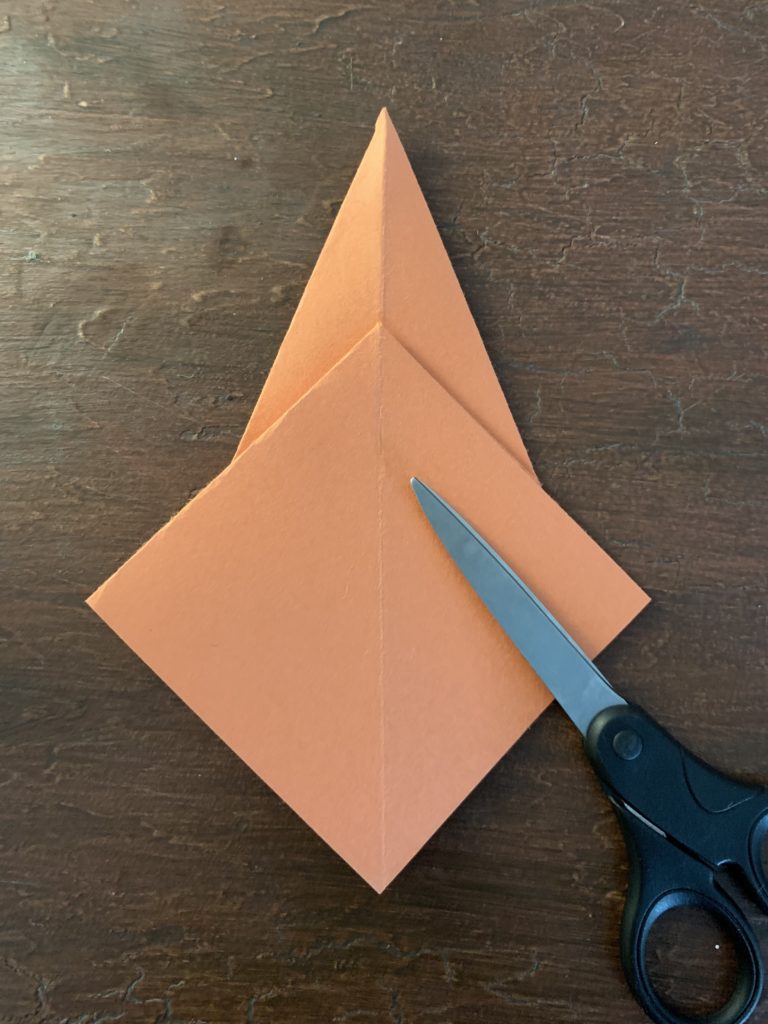
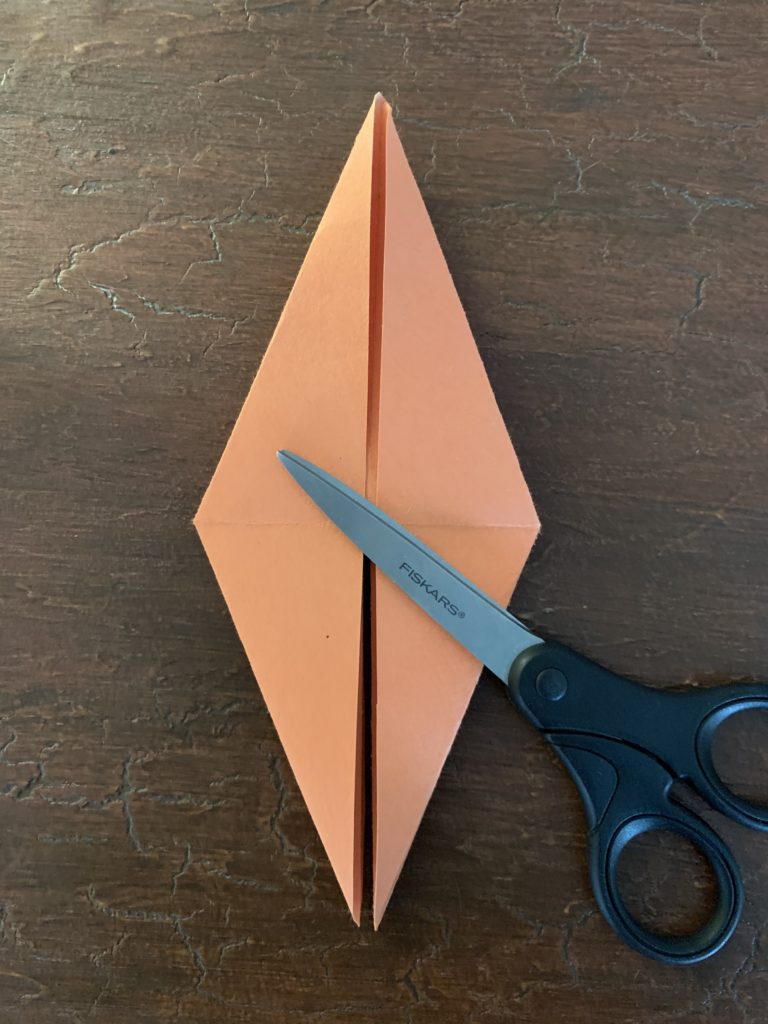
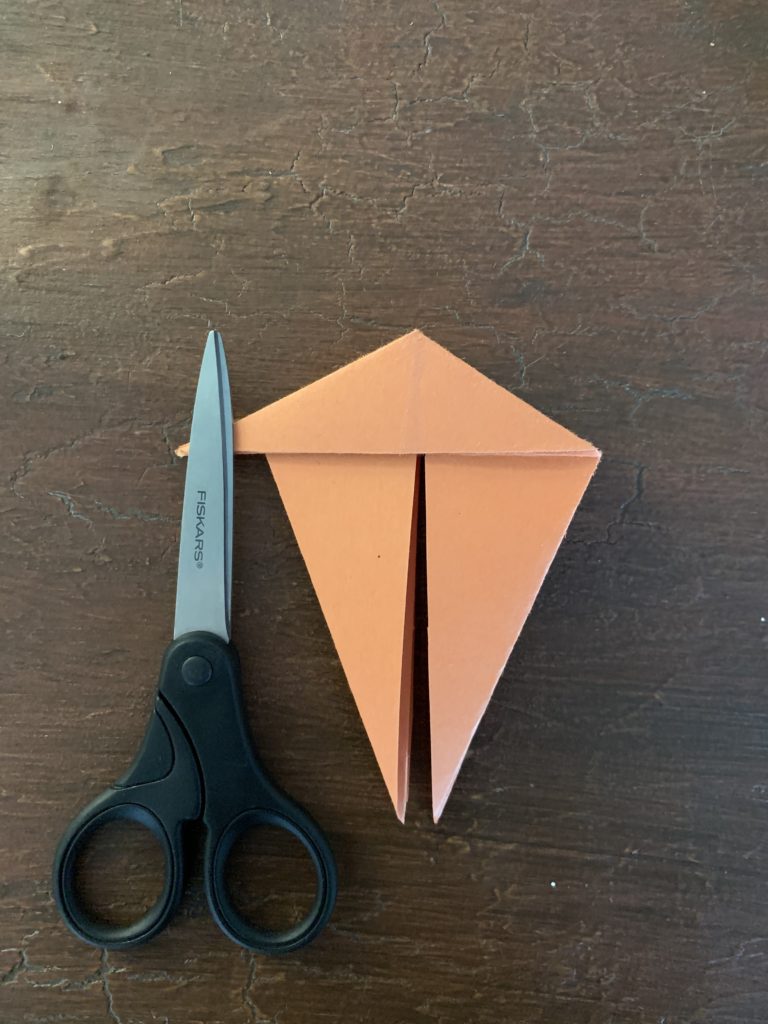
- This is the first more difficult fold. With the piece of paper rotated like a diamond, fold in the sides, bringing them together. The top diamond should naturally fall on top of these folds, creating a small square. This is called a “squash fold.”
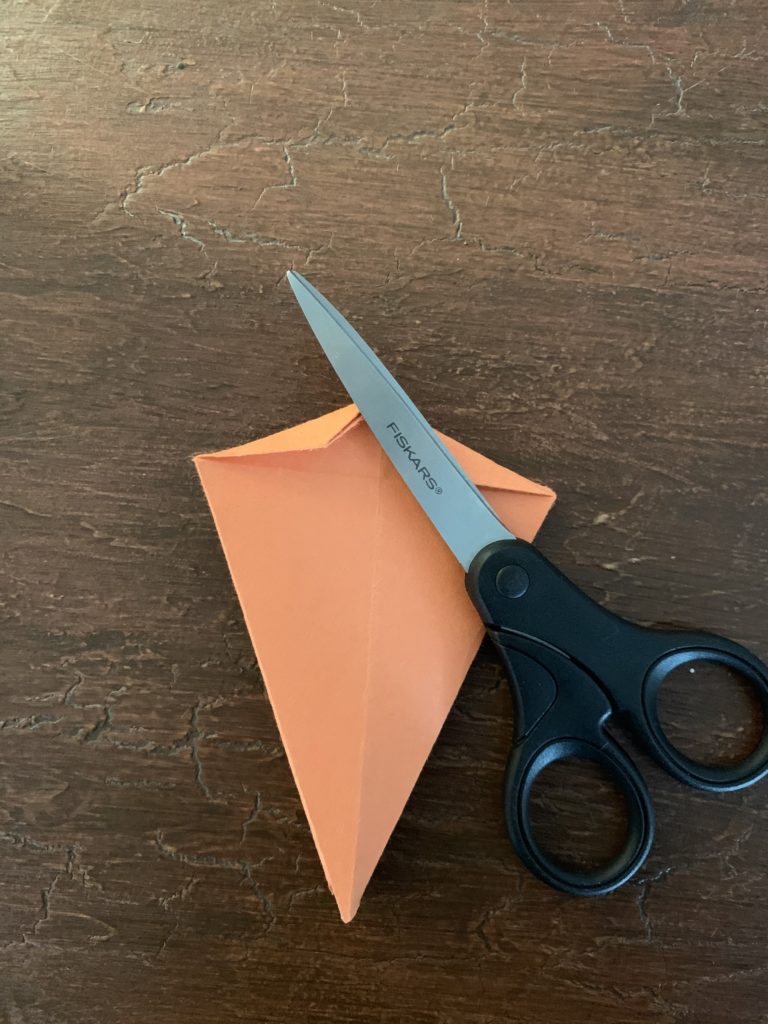
- With the piece of paper now a quarter of the size that it was, fold the two sides up and around, so that the top flap looks like a kite.
- Unfold the two folds that you just made and raise the bottom fold. As you do this, the sides will naturally close, making a boat-like shape. As the fold continues to raise, fold the edges inward. The end result should look like a taller-than-before kite.
- Flip the paper over and repeat steps 4 and 5.
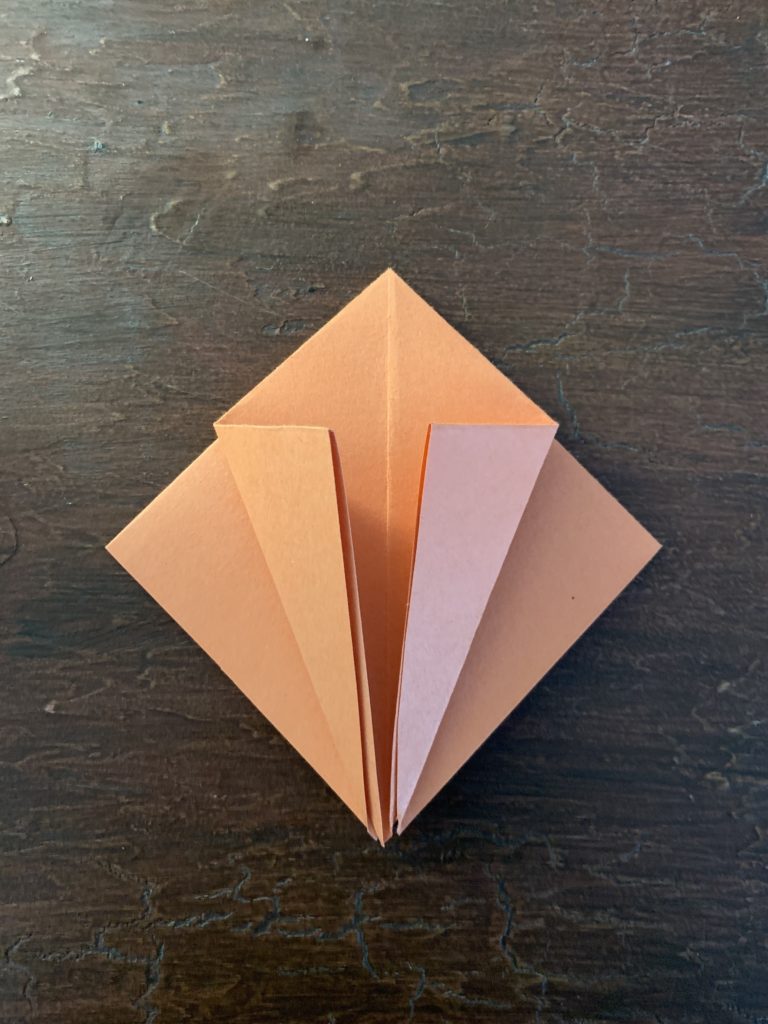
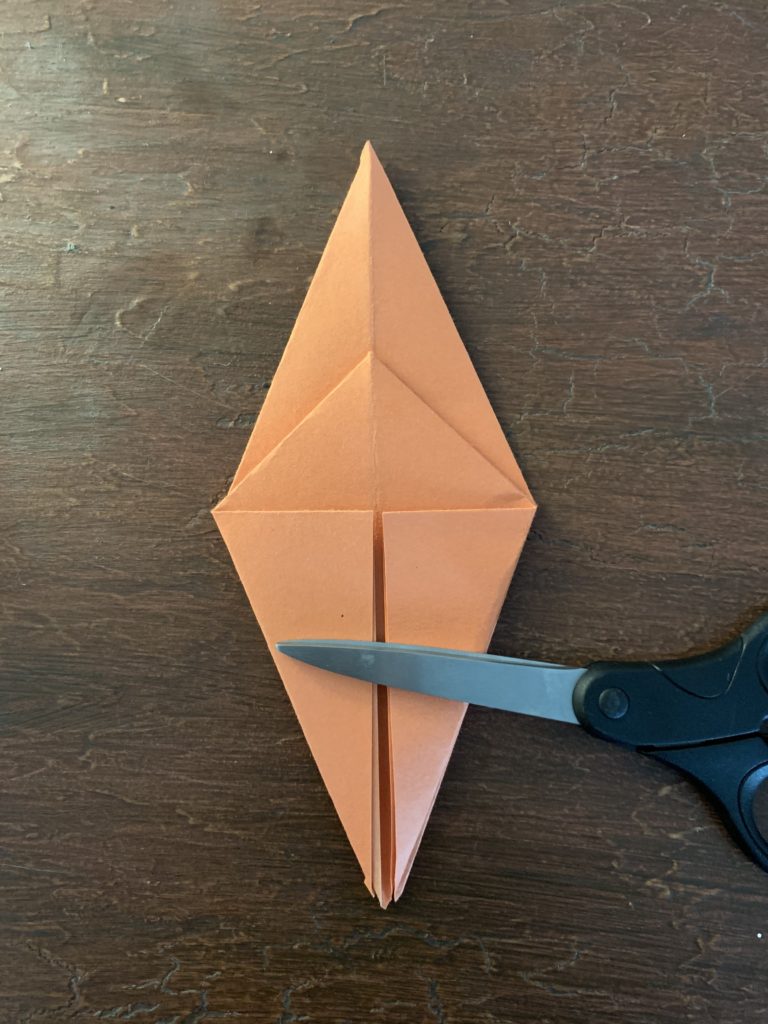
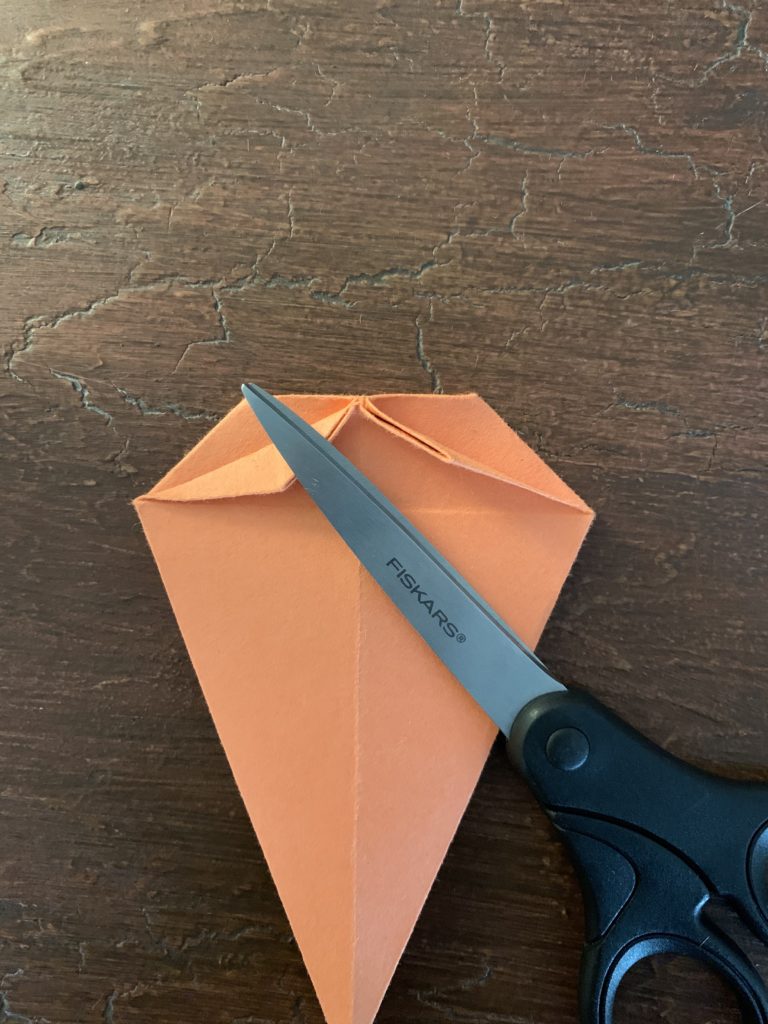
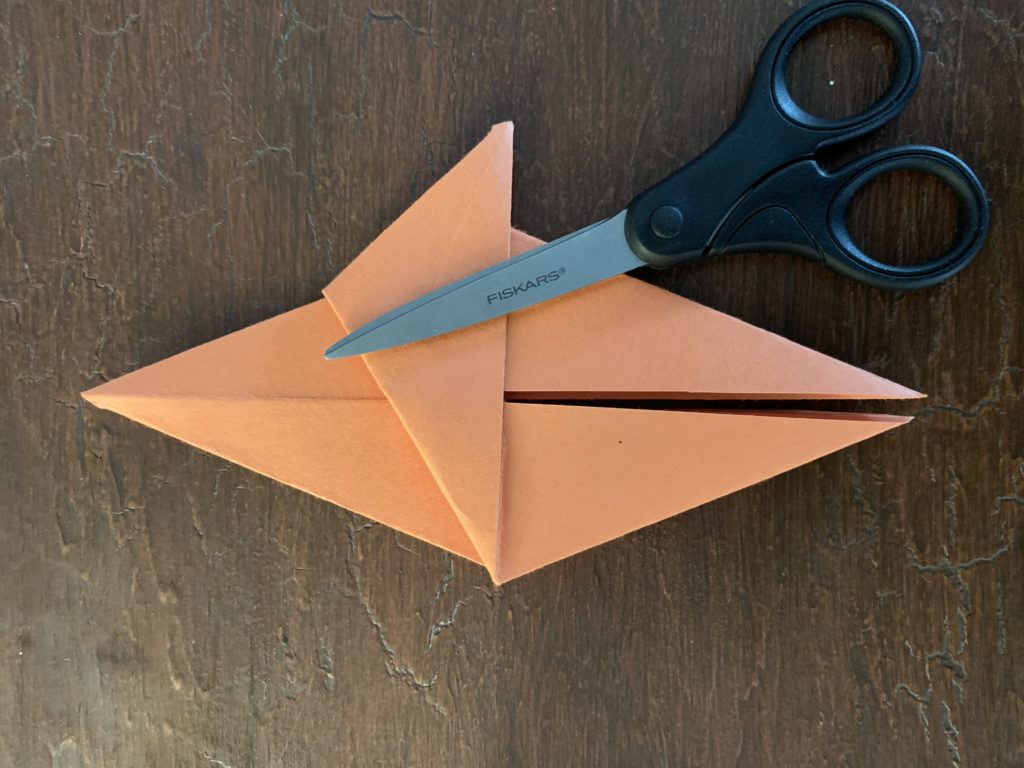
- Now, fold the two top-most flaps downward, revealing another kite.
- Fold the top of the kite down, so that it looks like the top of an envelope. The tip of the envelope should touch the horizontal crease line. The folded shape should look like a diamond. Repeat this step on both sides of the kite, and remove the fold, so that it looks like a kite again.
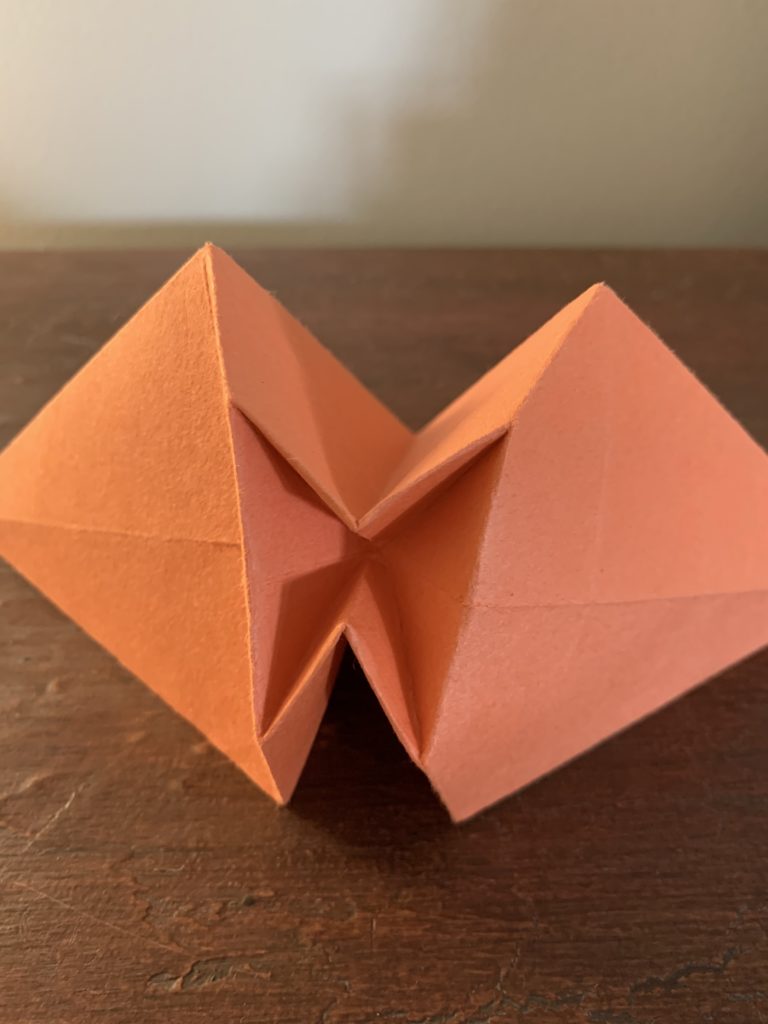
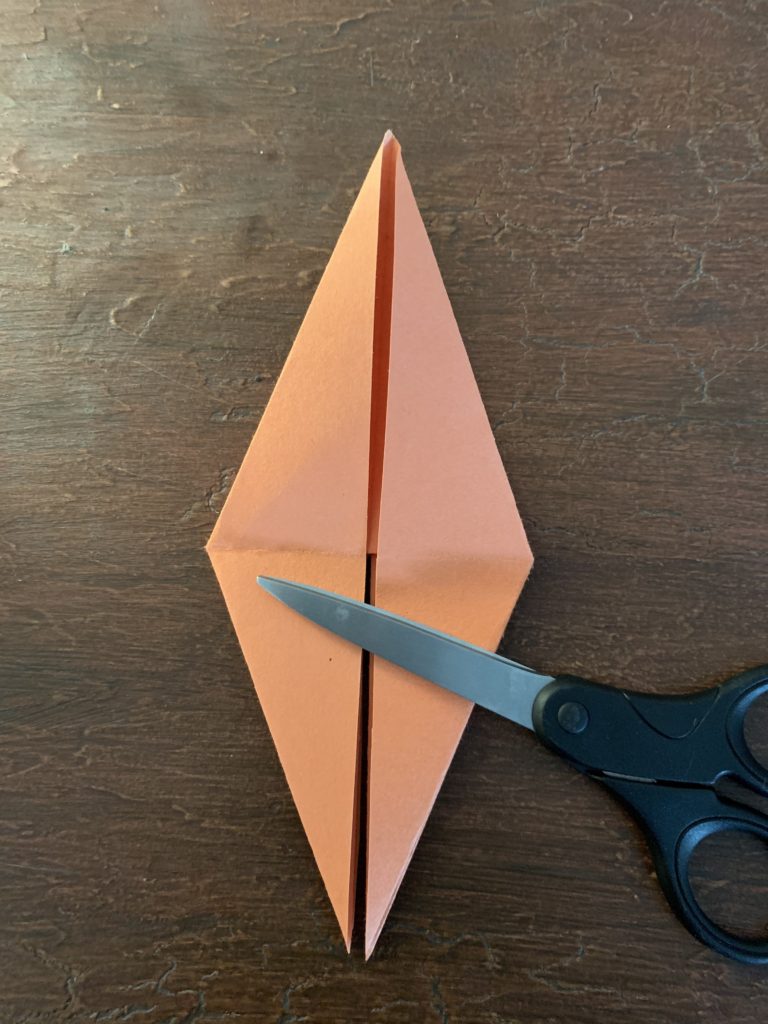
- This is tricky. Using the two flaps on the side, gently pull apart the two legs of the kite. You should notice a square of folds at the top of the shape. Your aim is to pull your paper just far enough apart that you’re able to press down this square into the shape. The square should collapse upon itself, effectively hiding within the new diamond shape.
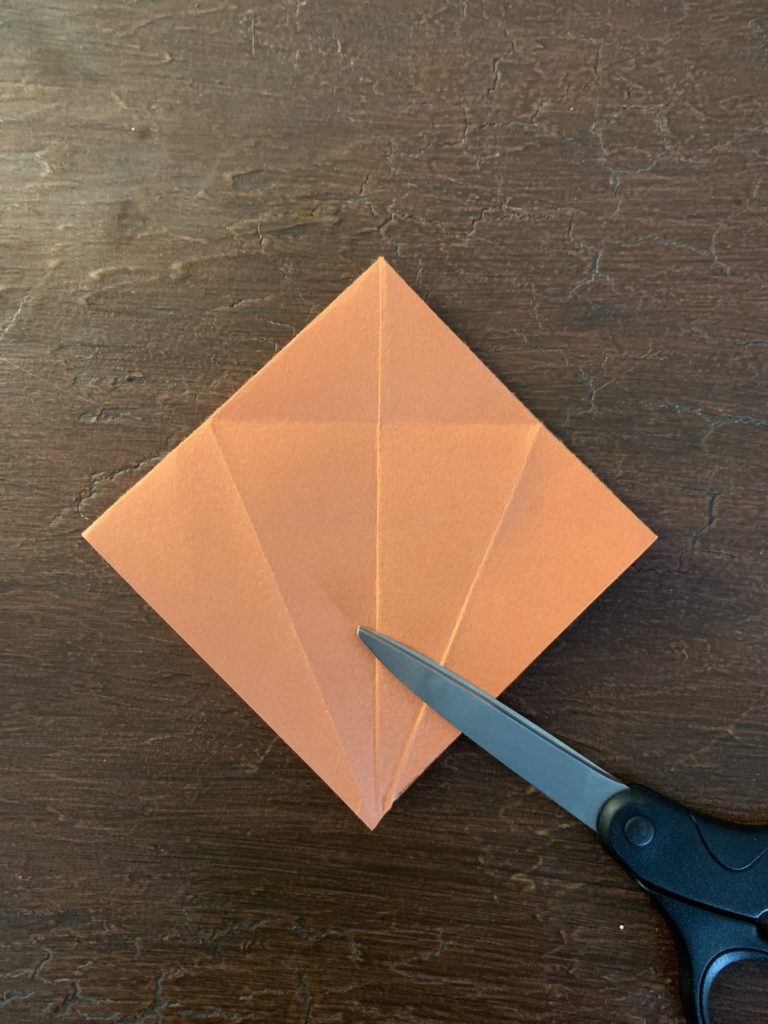
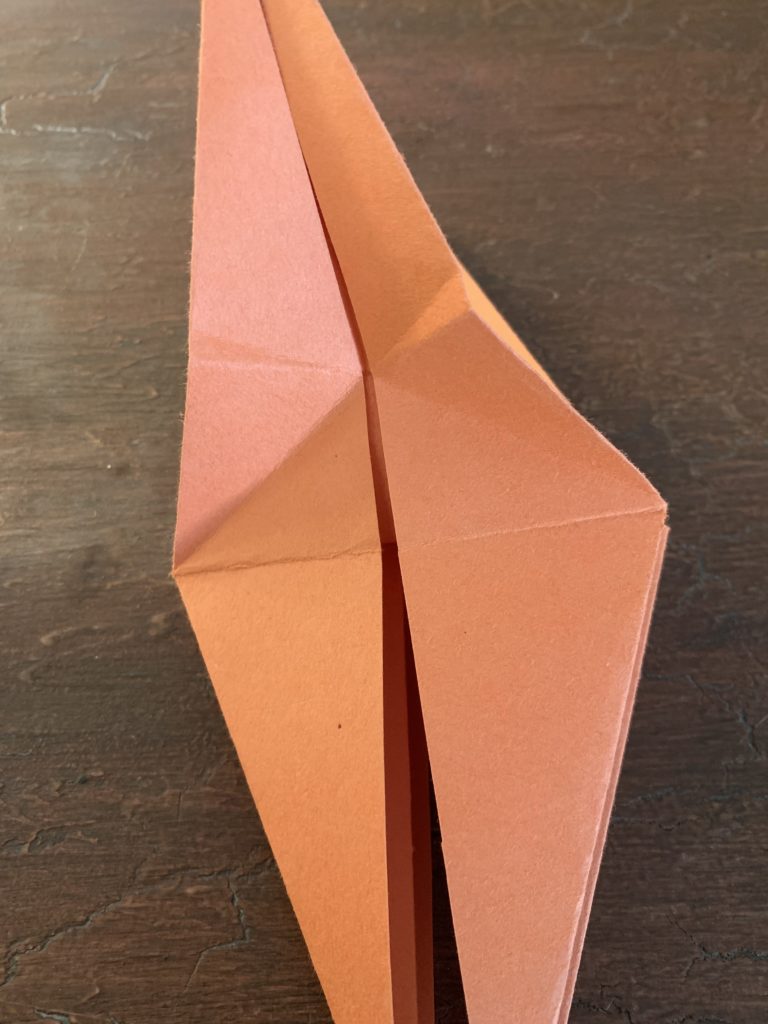
- Next, fold the top left corner of the diamond so that its bottom edge just meets the horizontal crease. Repeat this step on the right corner. Flip the paper over and repeat both steps, so that both sides of the paper are symmetrical.
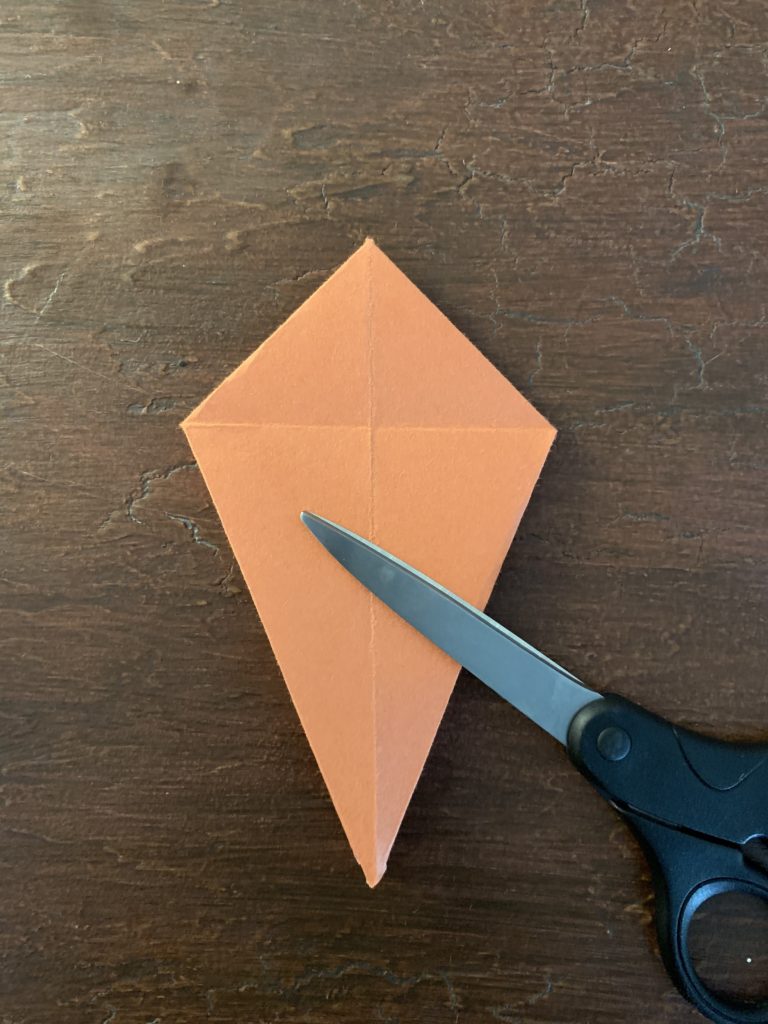
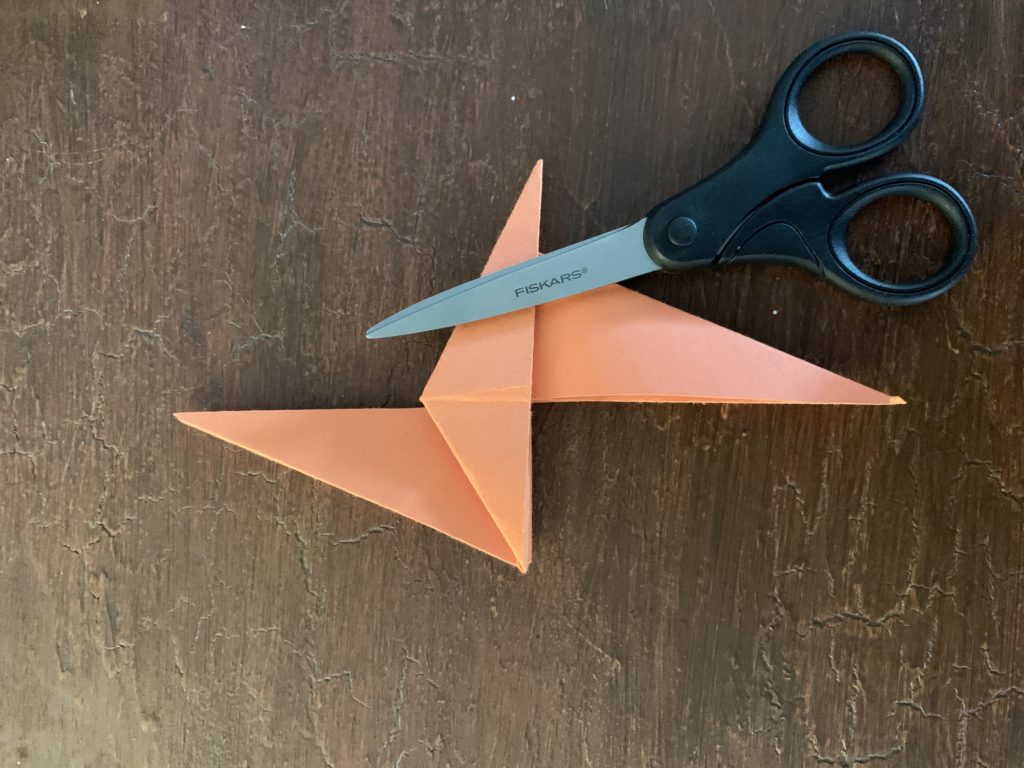
- Open both flaps vertically, so that both flaps are now meeting at the top, forming a new skinny diamond.
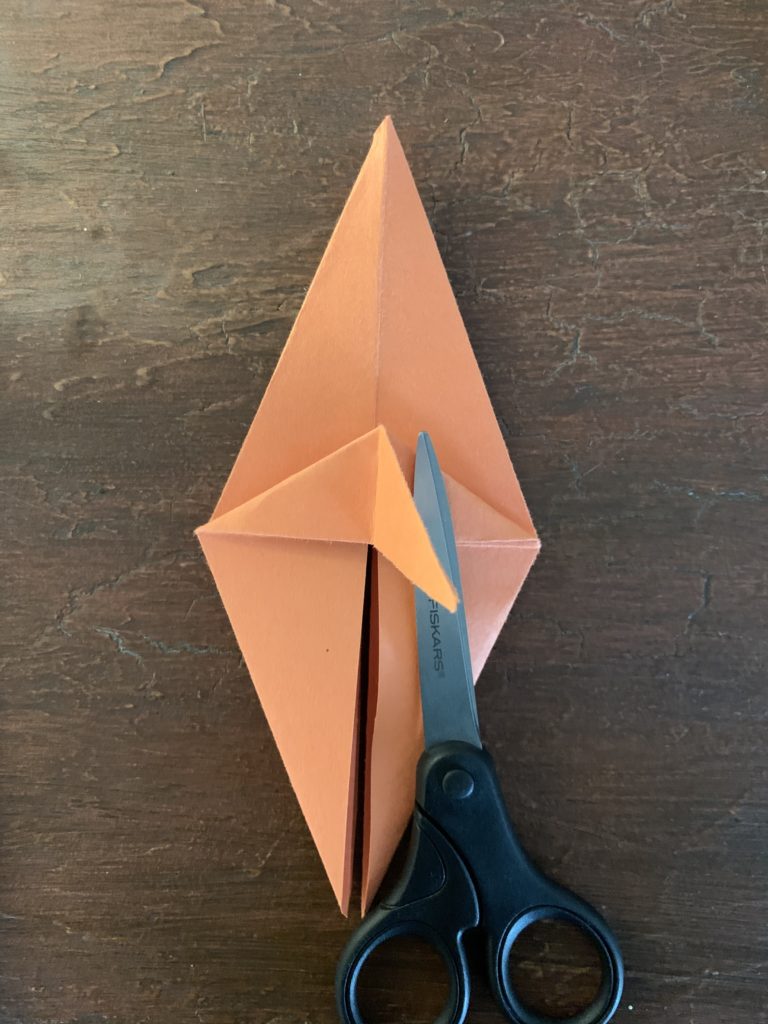
- Fold the left side of the left flap down, so that the left side of the flap meets the horizontal crease of the diamond. Unfold this step, and repeat it on the right side.
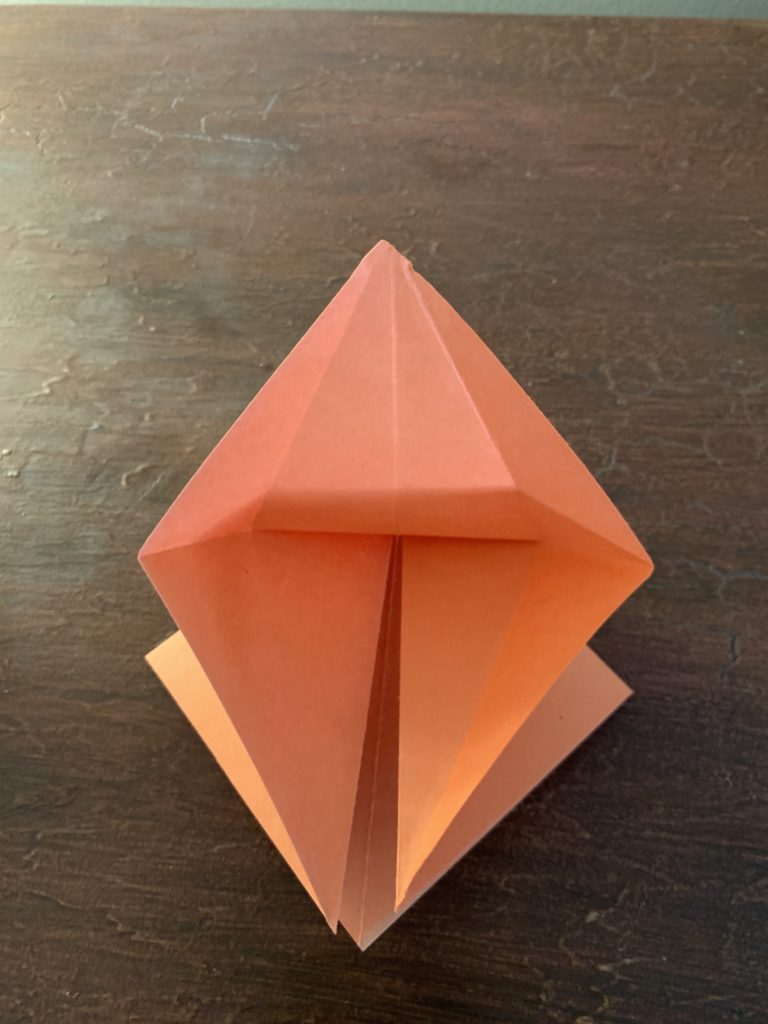
- Now bring both sides inward, creating a new upward-pointing triangle. Fold this new triangle down on either side. Flip the paper over and repeat this step with the other flap.
- On the side away from the wings, bring the triangle upwards and inwards so that it folds into the paper.
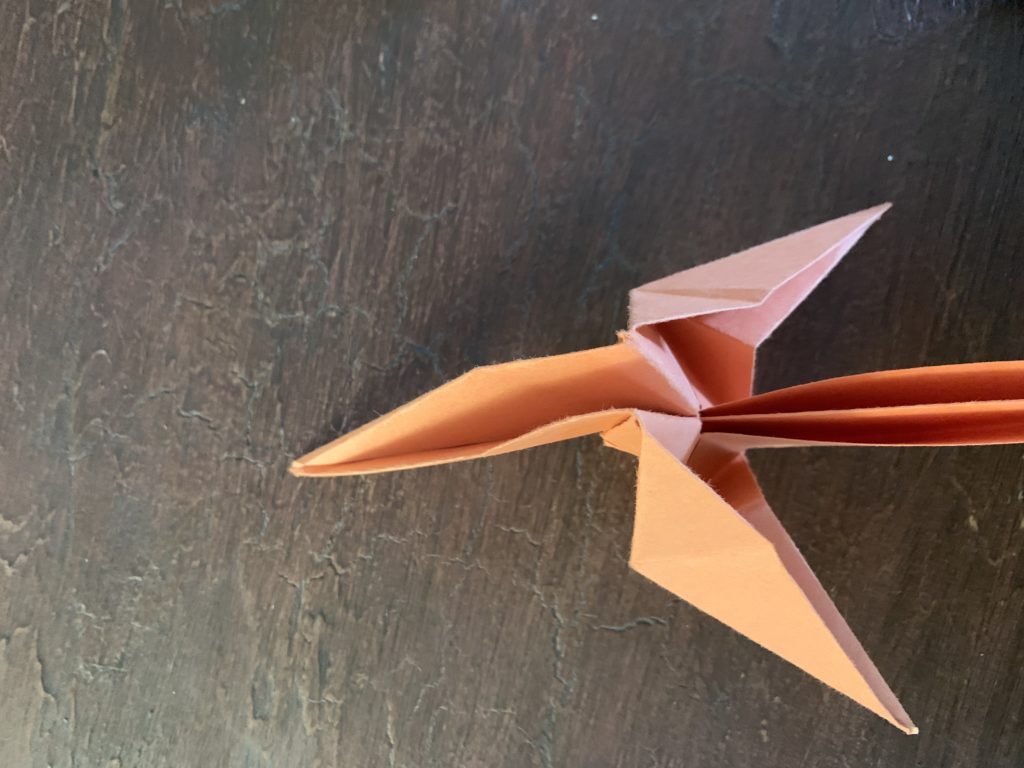
- With a shape beginning to resemble a head or a tail, fold the top part of the tail downwards in half. You’ll have to pinch some paper in on the body. Repeat this step on the other side, before moving to the other end of the dragon, and repeating both of these steps.
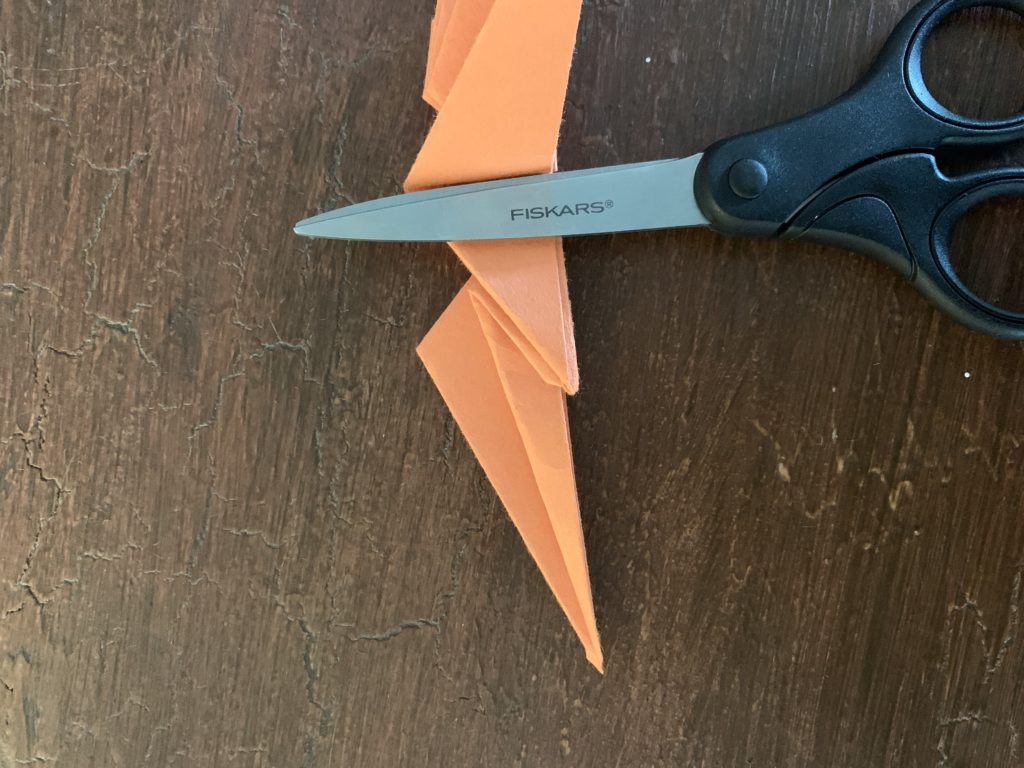
- Now, fold the wings up.
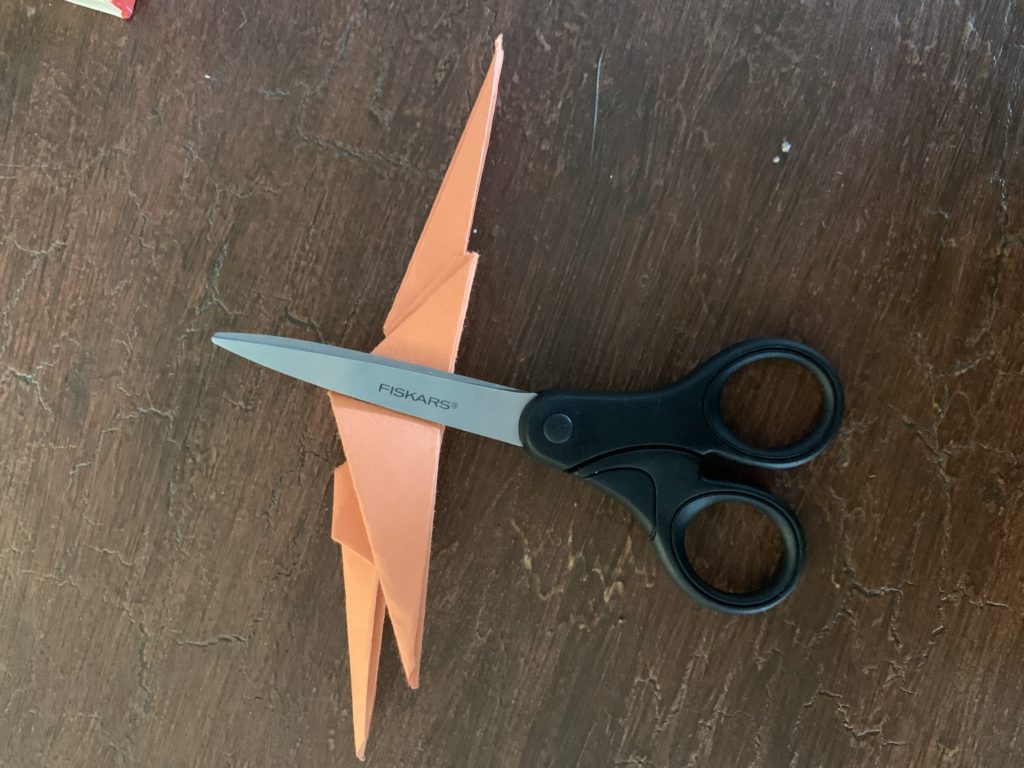
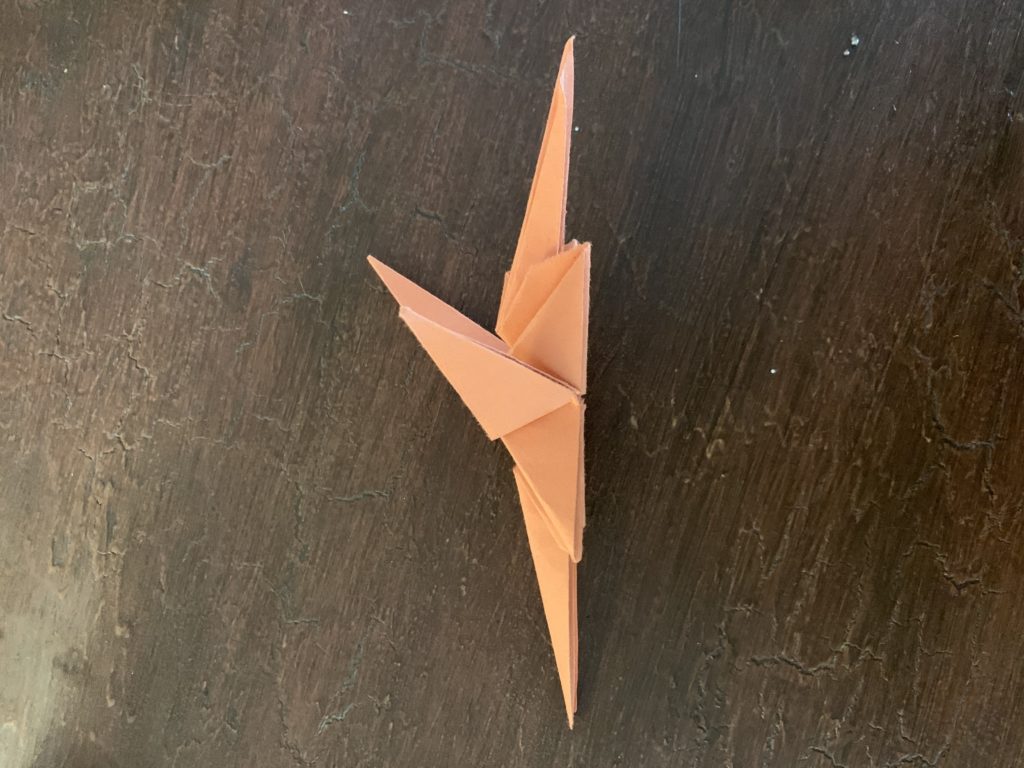
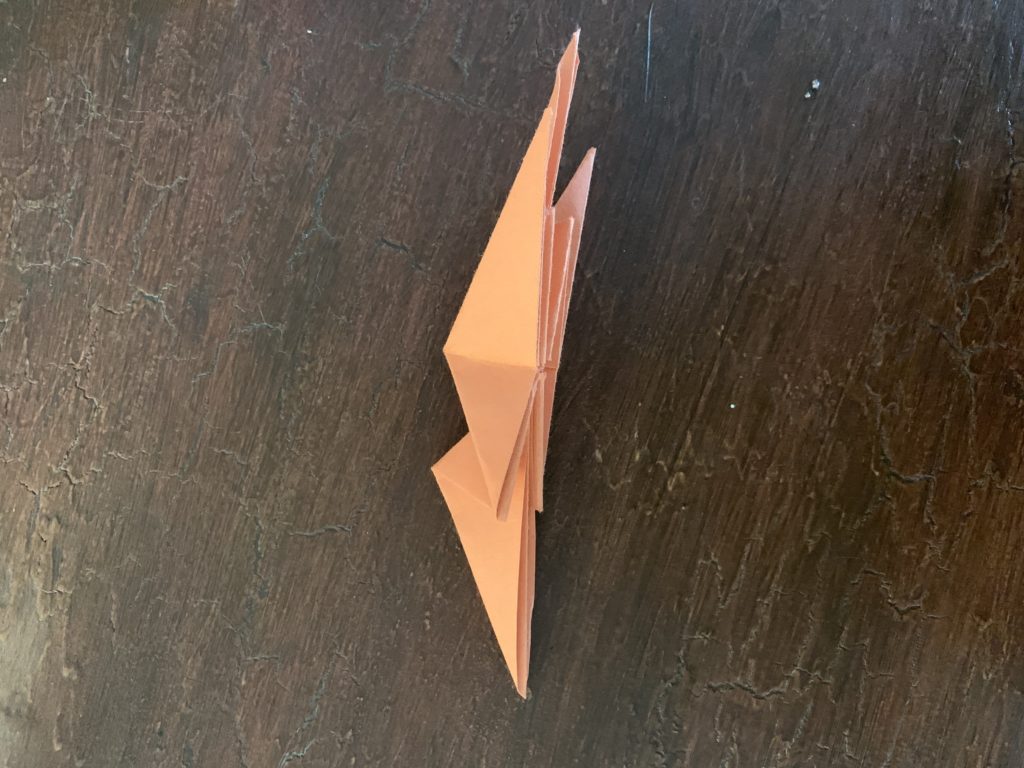
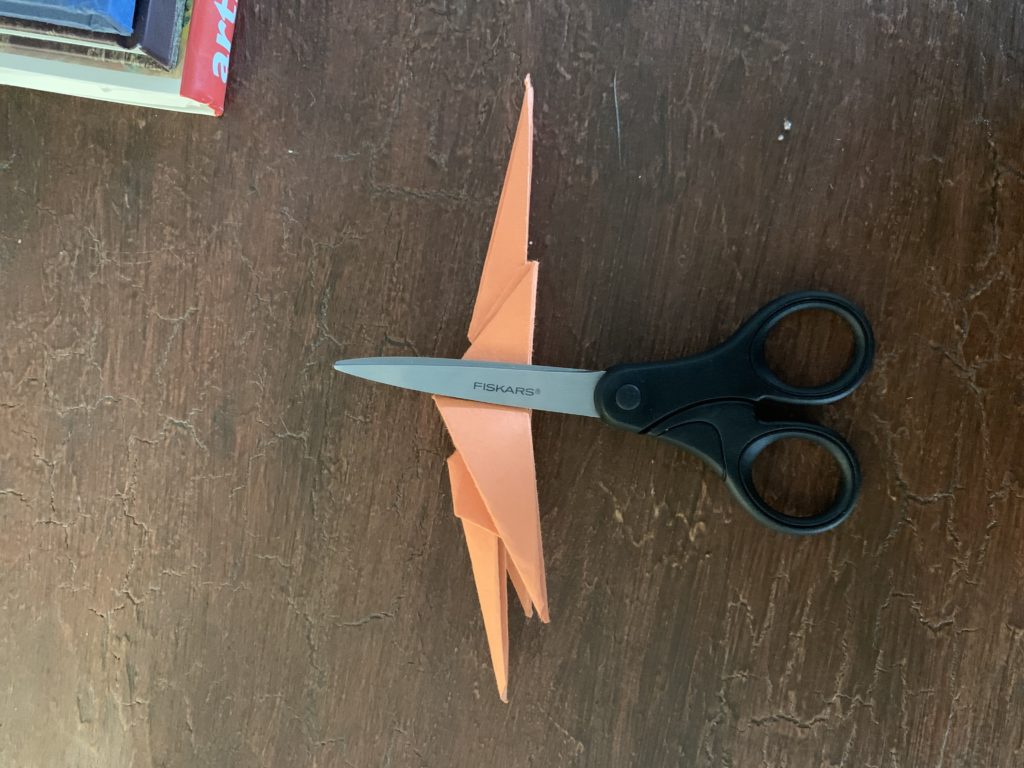
- On either side of the base of the wings is excess paper that you can fold downward to create the dragon’s legs. Depending on how much paper you have leftover, you might be able to fold these areas 1-2 times to create the desired effect. Perform this fold on all four legs at the base of what now appears to be the base of the dragon’s body.
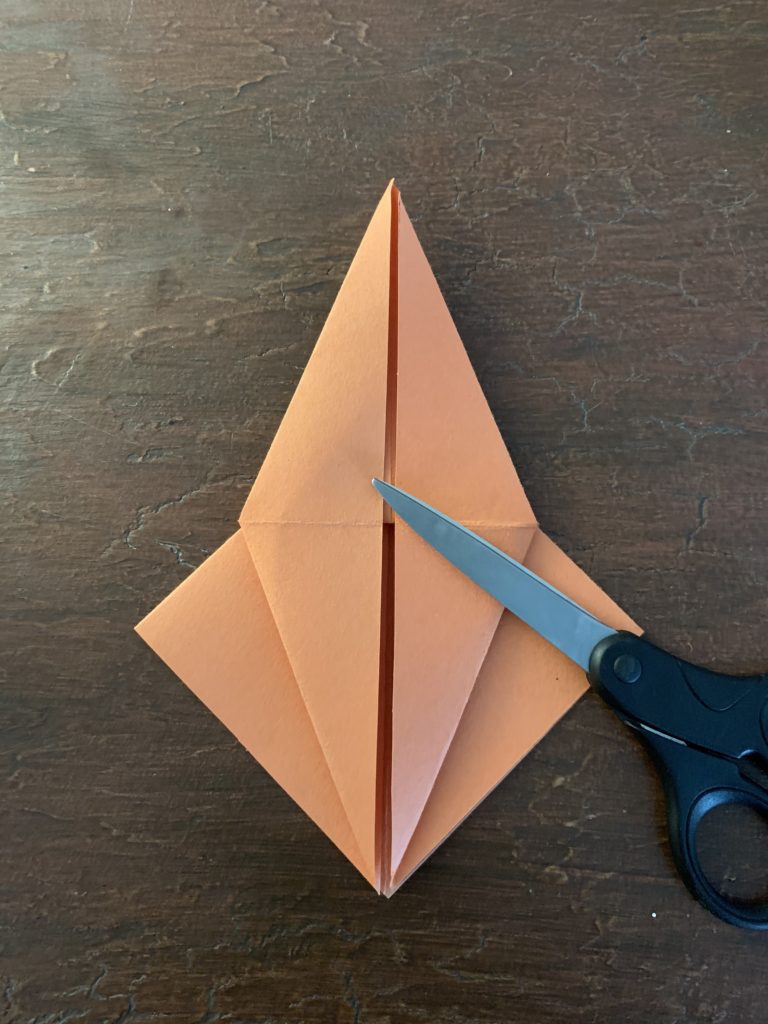
- Pinch the long ends remaining on the dragon’s body. Repeat these steps until your head and tail achieve the desired look.