
“Home” Made: Marbled Paper
We’re all looking for things to do, and at-home art projects are a great way to pass the time. Did you know that you can create beautiful colors, images, and art with standard, at-home supplies and materials? For this Marbled Paper project, you’ll need the following materials:
- Shaving cream
- Food coloring
- A lipped kitchen dish
- Index card, or other card stock paper
- A knife or other kitchen utensil
It’s recommended to keep paper towels handy to avoid dirtying your workspace. Wear an apron, too – if you have one.
Steps:
- Fill the bottom of a lipped kitchen dish with shaving cream.
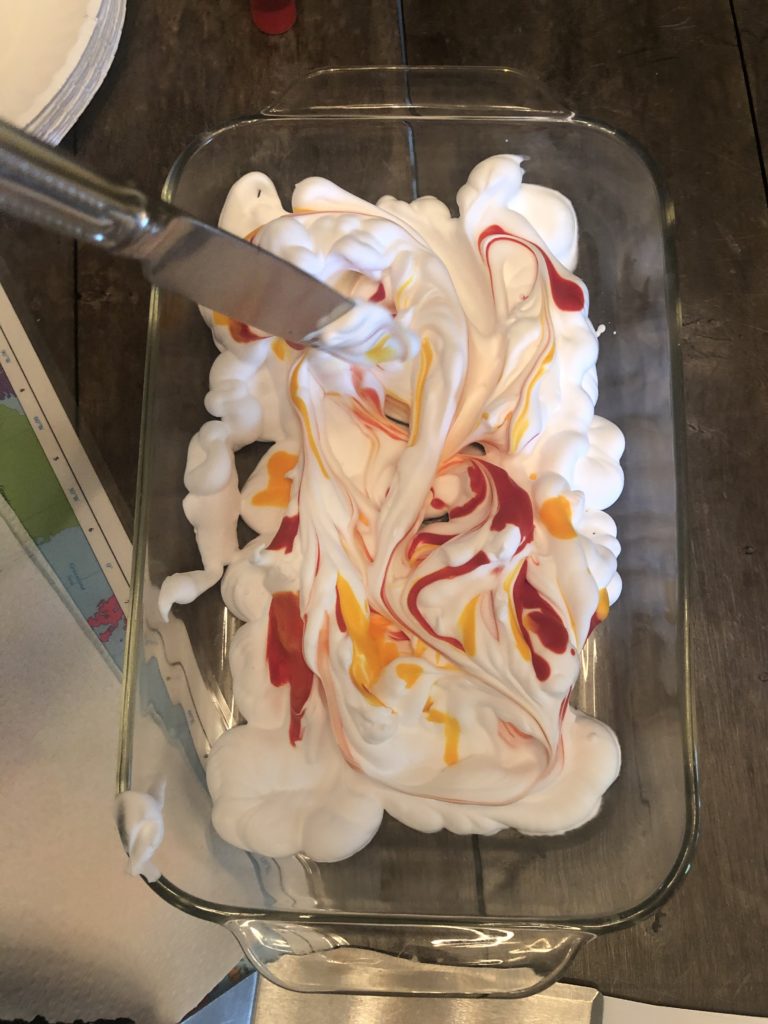
- Sparingly squirt food coloring on top of the shaving cream.
- Swirl the food coloring around.
- Place an index card or other card stock paper on top of the shaving cream and food coloring and push down.
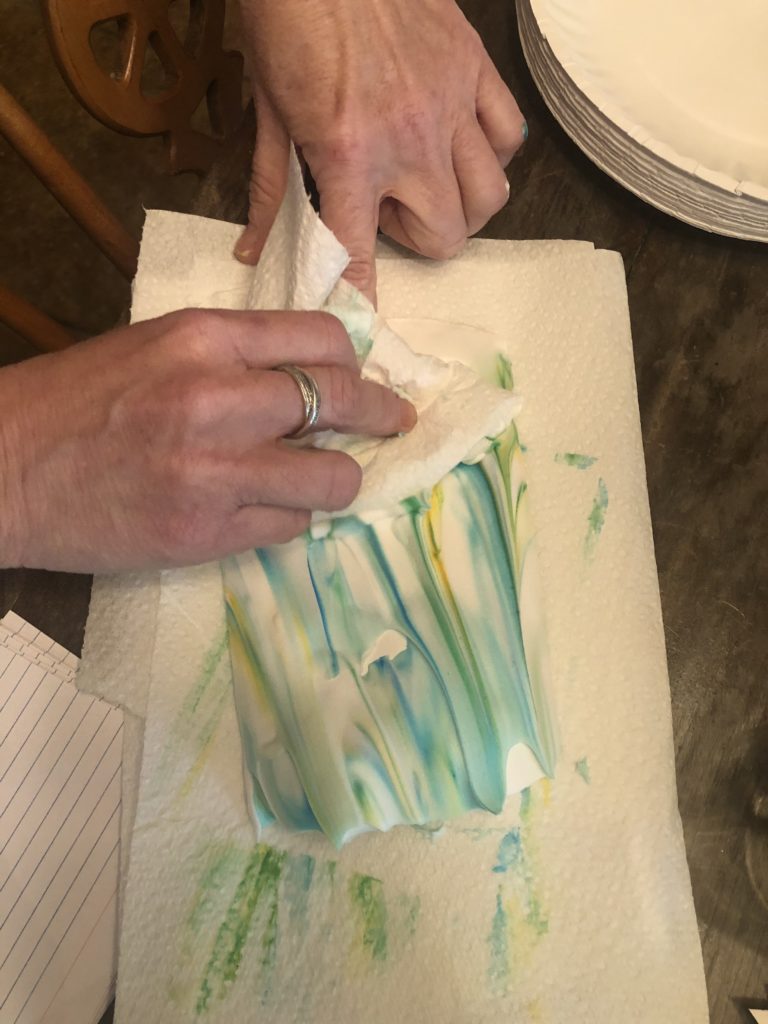
- Remove the paper and clean it of all shaving cream.
- Voila!
To begin, cover your table or workspace with paper towels, newspaper, or napkins. Place your container on the table and cover the bottom of it with shaving cream. With the bottom of the container filled with shaving cream, sparingly squirt a few drops of food coloring on top. You can elect to use cool or warm colors, but work simply. If you use too many colors, you will finish with a dirty brown. Use a kitchen utensil to lightly stir the food coloring around the shaving cream. It should look slightly swirled, when you’re finished.
At this point, place the desired side of your index card, paper plate, or other card stock material on top of the shaving cream. Don’t move it around, just push down. When you lift it up, you’ll have a lot of the shaving cream stuck to one side of the paper. We recommend wearing an apron or gloves for this step, as things can become a little messy. Using paper towels or a spatula, wipe all of the shaving cream off of the card. Both methods work well, but regardless, your goal is to remove all of the shaving cream from the paper.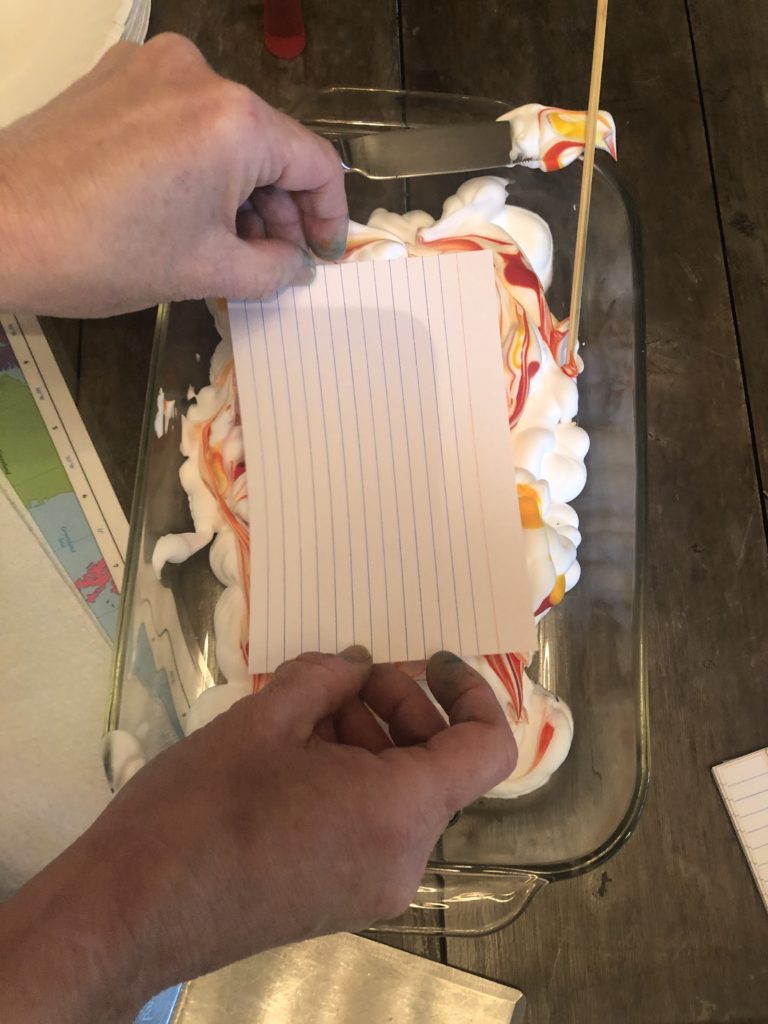
What’s left is beautiful, and you will see great results every time!
After you complete the first print, you can place another piece of paper in the same container of shaving cream and try again. You’ll get another beautiful print! The more paper you place and remove, the more marbled each print will become. You can stir the mix of shaving cream and food coloring before placing more prints, and you can also add more food coloring, but again, if you add too many colors, your mix will become brown.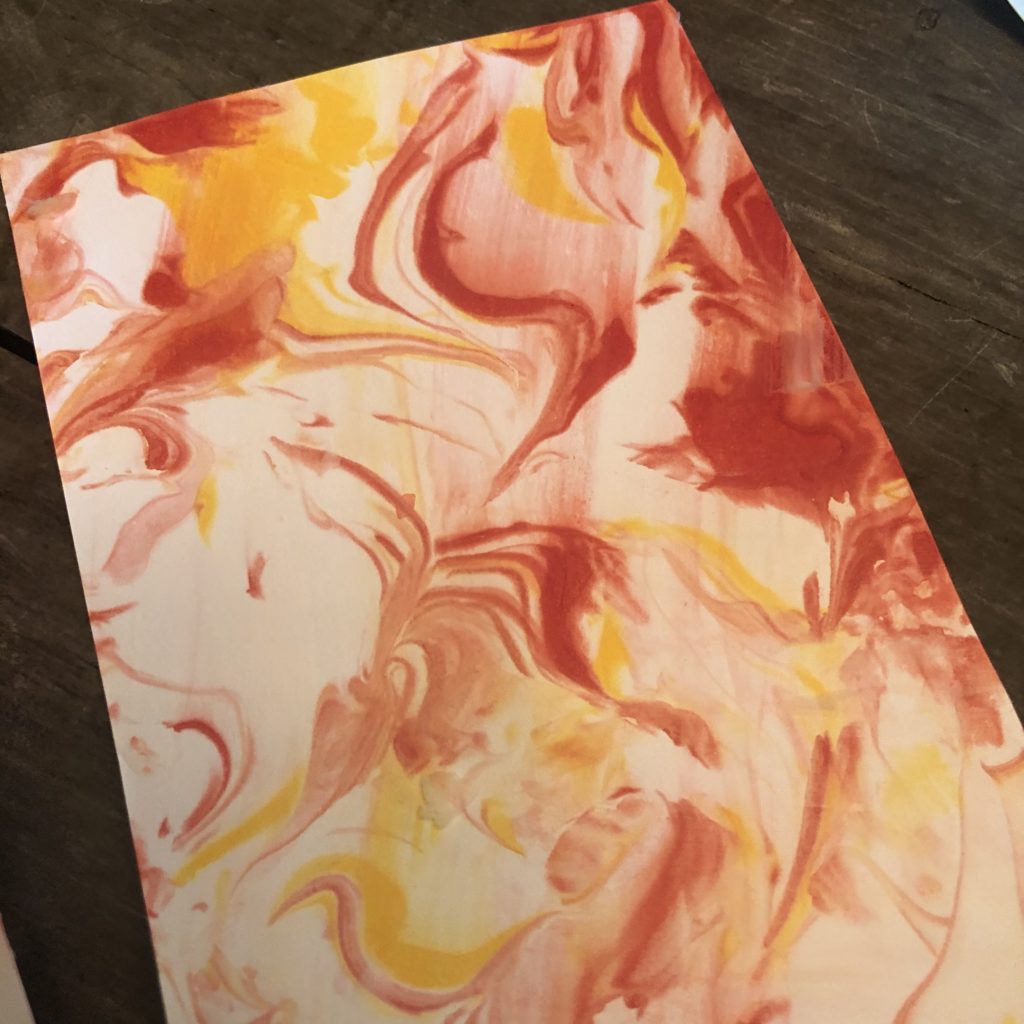
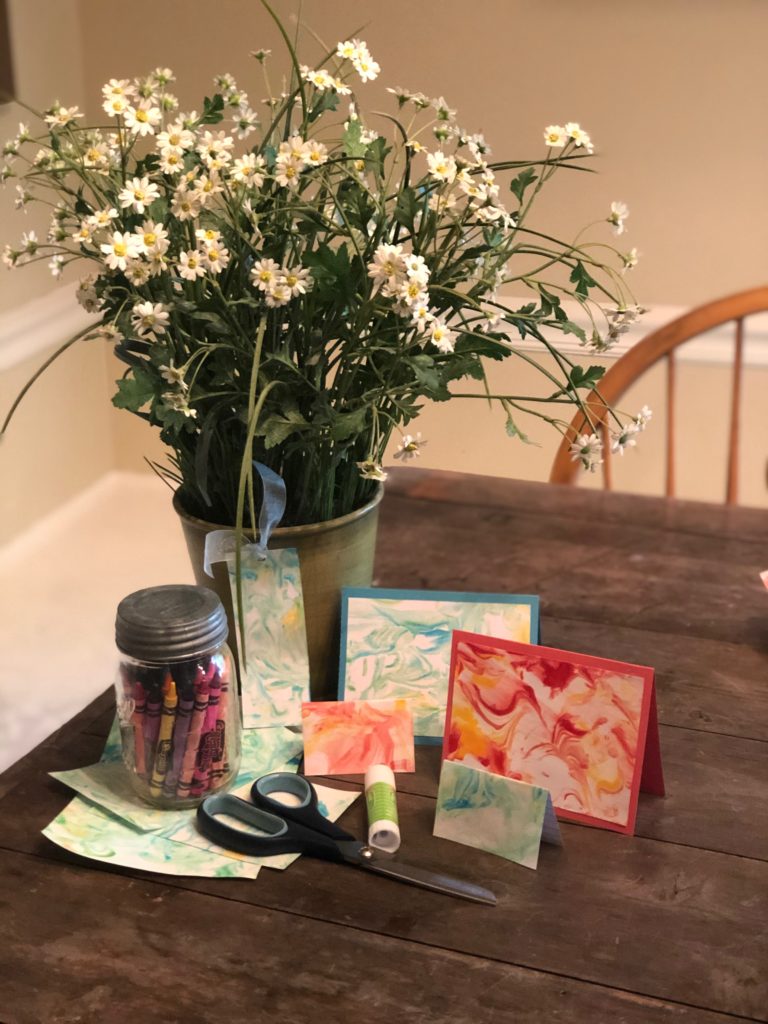
These marbled prints of paper make great note cards or bookmarks. Using your favorite print, ask your children to write a letter to their grandparents or other family members. They also work great as bookmarks, because I know we’re all reading!
Most importantly, have fun!
Jennifer Camilleri, a Collierville resident, is an arts and crafts specialist and aficionado. She has taught art and math at Incarnation Catholic School in Collierville, TN.