
DIY: Cornhole Boards
MATERIALS LIST
Hardware
- 1/2” LB Box
- 2 1/2” wood screws
Approx. 20x
- 1 1/2” wood screws
4x
- 4” x 3/8” carriage bolts
- 3/8” washers
- 3/8” wingnuts
Wood
- 4x 2” x 4” x 8’
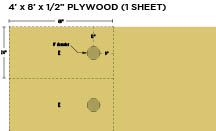
- 1x 4’ x 8’ x 1/2” plywood
TOOLS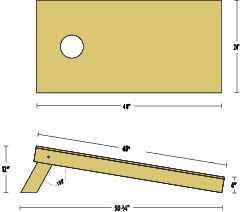
- Drill / Driver
- Jig Saw
- Radial Saw
- 3/8” Drill Bit
- Square
- Hammer
- Compass
- Tape Measure
CUT LIST
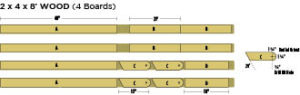
STEP 1
Cut parts (A) and (B) to size (see diagrams for measurements). Then, to make the frame, arrange parts (A) and (B) on your work surface in a rectangle, making sure the edges are flush. Use two 2” wood screws at each corner to attach the boards together. 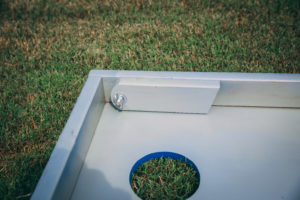
STEP 2
Now we’re ready for the legs (C). At the bottom of part (C), make a line at a 29 degree angle from one of the corners. Cut along this line with your chop saw. At the top of part (C), mark a point that is 1¾” from the top and 1¾” from the edges, to make a center for your circle. Now, using a compass, draw a semi circle with a 1¾” radius to create your circle. Finally, using a 3/8” drill bit, make a hole in the center of your circle.
STEP 3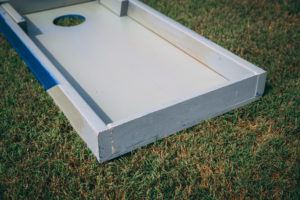
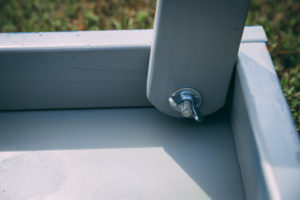
On the outside of part (A), use a pencil to mark a point 4” from the left edge and 1¾” from the top edge. Using your 3/8” drill bit you used before, go ahead and make a hole in part (A) at your mark. Now, you can connect your leg (part C) to the inside of your frame, using a 3/8” carriage bolt (hammer needed). Install the washer and wingnut to secure the leg, then repeat Step 3 to connect the second leg to the frame.
STEP 4
On part (E), mark a point 12” from the left and right edges, and 9” from the top edge. Using a compass, draw a circle around your mark that has a 3” radius. Drill a hole in the center of the circle with the 3/8” drill bit.
 STEP 5
Insert jigsaw blade into the center hole and cut out the rest of your circle. Now you’re ready to place part (E) on the frame, while making sure edges are flush. Attach part (E) to the frame at each of the four corners using 1¾” wood screws. For reinforcement, place screws at 12” intervals down the sides of the board.
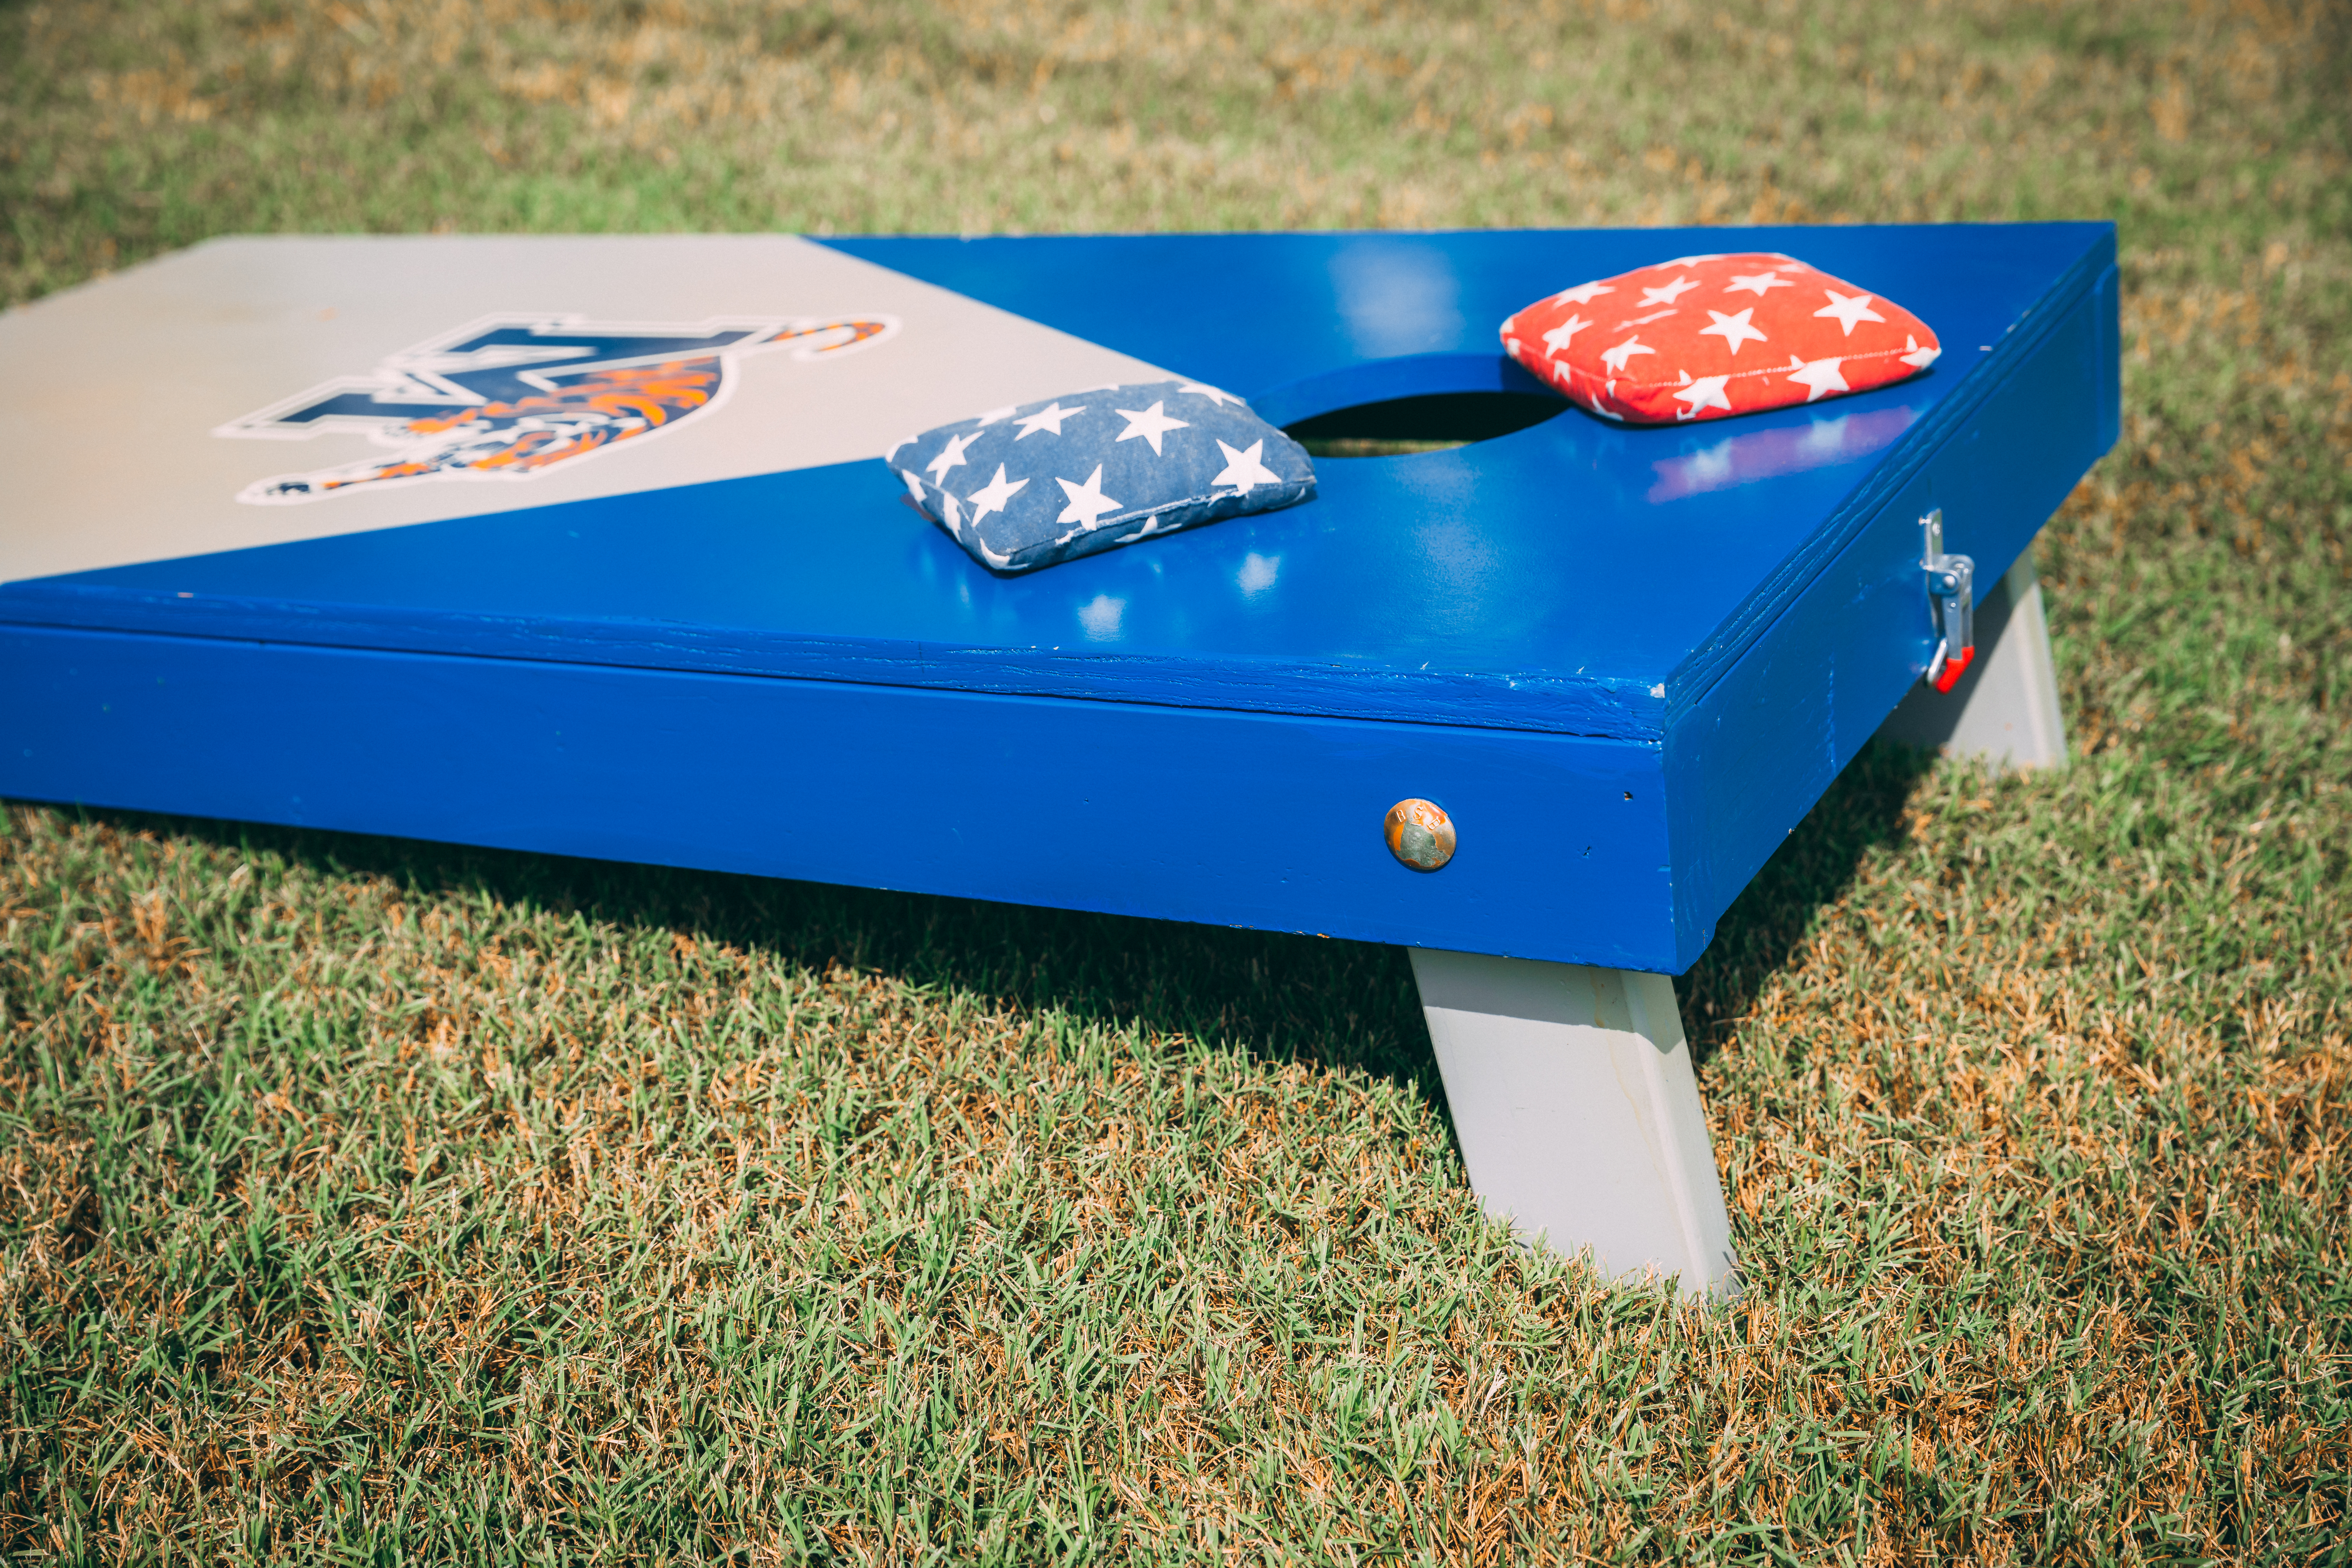
The hard work is finished!We’ll leave any finishing/painting up to you. Don’t forget about the throw bags!